How to Build a Safe and Sturdy Wheelchair Ramp for Your Home

Table of Contents
When navigating the stairs is risky, building a wheelchair ramp for your home can be a rewarding long-term project that significantly improves home accessibility.
The key to a successful ramp is ensuring it meets safety standards and the user’s needs. Ready to make your home more accessible for loved ones? Read on to learn how to build a wheelchair ramp.
Key Takeaways
- Assess user needs, choose the right location, and comply with ADA and local regulations.
- Build a sturdy frame, install a non-slip surface, add safety features, and maintain regularly for safety and durability.
- For expert advice on designs, materials, and compliance, consider consulting professionals to ensure the ramp meets safety standards.

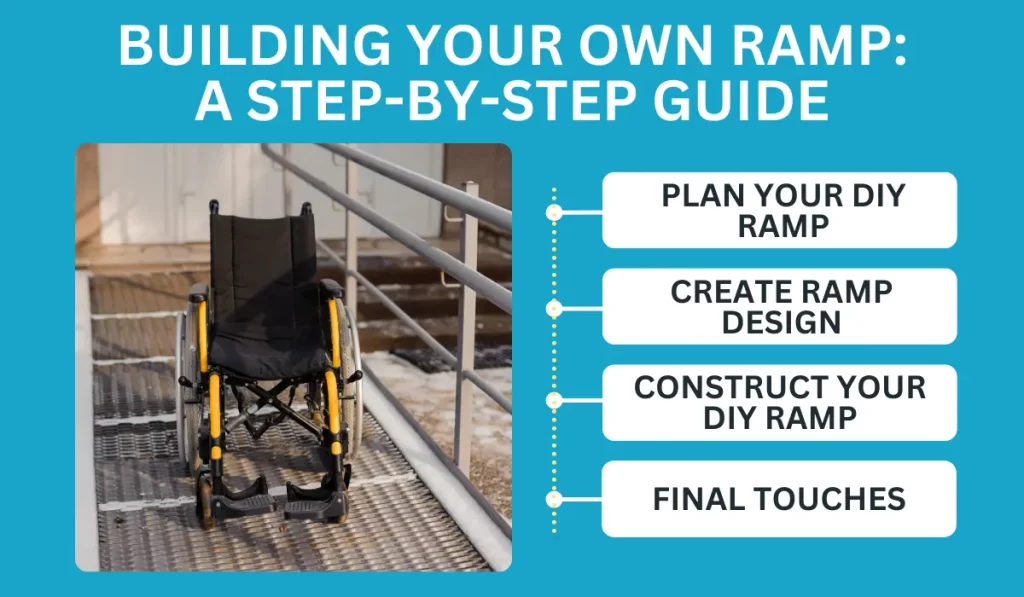
Step 1: Plan Your DIY Ramp
Assess Your Needs
Your ramp plans must start by understanding what specific needs the handicap ramp will address. Wheelchair users might have different requirements based on their mobility needs, whether a manual wheelchair, electric scooter, or another device.
Its design must facilitate easy access for all intended users. The slope must also be considered to ensure safe and comfortable usage.
Choose a Location
Choosing the right location for your wheelchair-access ramp significantly affects its effectiveness. Ground-level entrances are ideal to minimize the slope.
The location should offer the most direct route to essential areas like the driveway or sidewalk while avoiding obstacles.
Research Regulations
Familiarizing yourself with the Americans with Disabilities Act (ADA) requirements is essential.
To avoid legal complications, you must also comply with local building codes and possibly the rules of a homeowners’ association.
Key elements to check include:
- ADA standards: The gradient should not exceed a 1:12 ratio (1 inch of rise for every 12 inches of length).
- Local building codes: Confirm any additional requirements or restrictions with local authorities.
Step 2: Create Ramp Design
Calculate Ramp Length and Slope
Determining the ramp length and slope is critical for safety and accessibility.
According to the ADA requirements, the ideal ramp slope for a wheelchair ramp is 1:12. So the ramp should extend 12 inches for every inch of rise.
To visualize the required length based on the height, consider this guide:
| Inch of Ramp Rise | Length of the Ramp (ft) |
|---|---|
| 1 inch | 1 foot |
| 6 inches | 6 feet |
| 12 inches | 12 feet |
| 24 inches | 24 feet |
Consider Landing Designs
Landings provide resting spaces and are essential for longer ramps or when making turns. They should be large enough to allow easy maneuvering.
A landing is required every 30 feet of ramp run or each time there is a change in direction. To enhance the ramp’s usability, consider these other aspects:
- Size: Minimum 5×5 feet.
- Level Surface: Completely flat to ensure safety.
- Degree Turns: Suitable for 90-degree and 180-degree turns.
Choose the Right Materials
The choice of materials affects the ramp’s durability and appearance. Common materials include wood, aluminum, modular, and composite. Pressure-treated lumber is durable and weather-resistant, making it a popular choice for wooden wheelchair ramps.
When choosing the materials and type of ramp, consider these factors:
- Durability: How long the material lasts.
- Weather Resistance: Ability to withstand elements.
- Maintenance: Frequency and ease of upkeep.
Step 3: Construct Your DIY Ramp
Build the Frame
Creating the frame is the backbone of your ramp construction. It provides the necessary support and structure for the DIY project to handle substantial weight and prevent household falls.
To start, here’s how to build the frame:
- Determine the ramp dimensions and cut the joists accordingly.
- Use carpentry skills to secure the joists together. Ensure joints are tight and secure.
- Secure the frame to the ground to prevent shifting. Concrete anchors can be effective.
Install the Ramp Surface
The ramp surface directly interacts with the user, so it needs to be durable and slip-resistant. To ensure a smooth and safe surface, follow these steps:
- Select the surface material of your choice, such as plywood or composite decking.
- Fit the surface material snugly within the frame.
- Attach plywood or deck boards using screws or nails, ensuring no edges are loose.
- Apply a textured, slip-resistant coating if needed, especially for outdoor ramps.
Add Safety Features
Safety features like handrails and proper lighting enhance home accessibility and minimize accident risks. For residential ramps intended for everyday use, follow these installation steps:
- Install Handrails: Handrails should typically be 34-38 inches above the ramp surface. Attach handrails to the sides of the ramp using strong brackets and bolts.
- Add Railings: Railings should extend the entire length of the ramp to provide consistent support.
- Include Edge Protectors: Install edge protectors to prevent wheels from slipping over the edge.
- Lighting: Solar lights along the sides improve visibility at night without extensive wiring work.
Step 4: Final Touches
Paint and Finish
Adding paint or finish to the ramp improves its appearance. It also helps prevent wood rot or rust in metal ramps and ensures a longer-lasting structure.
Maintain Your Ramp
Regular maintenance keeps your ramp functional and safe. This step involves routine checks and immediate action on wear and tear to prevent accidents and prolong the ramp’s life.
Follow these maintenance tips:
| Maintenance Tips | Recommended Action |
|---|---|
| Routine Cleaning | Sweep off the debris and clean the surface regularly to prevent build-up. |
| Inspect for Damage | Check for loose nails, screws, and any signs of rot or rust. |
| Reapply Finish | Periodically reapply paint or sealant to maintain protection against weather. |
| Check for Stability | Ensure the ramp is stable and the railings are secure for safe usage. |


